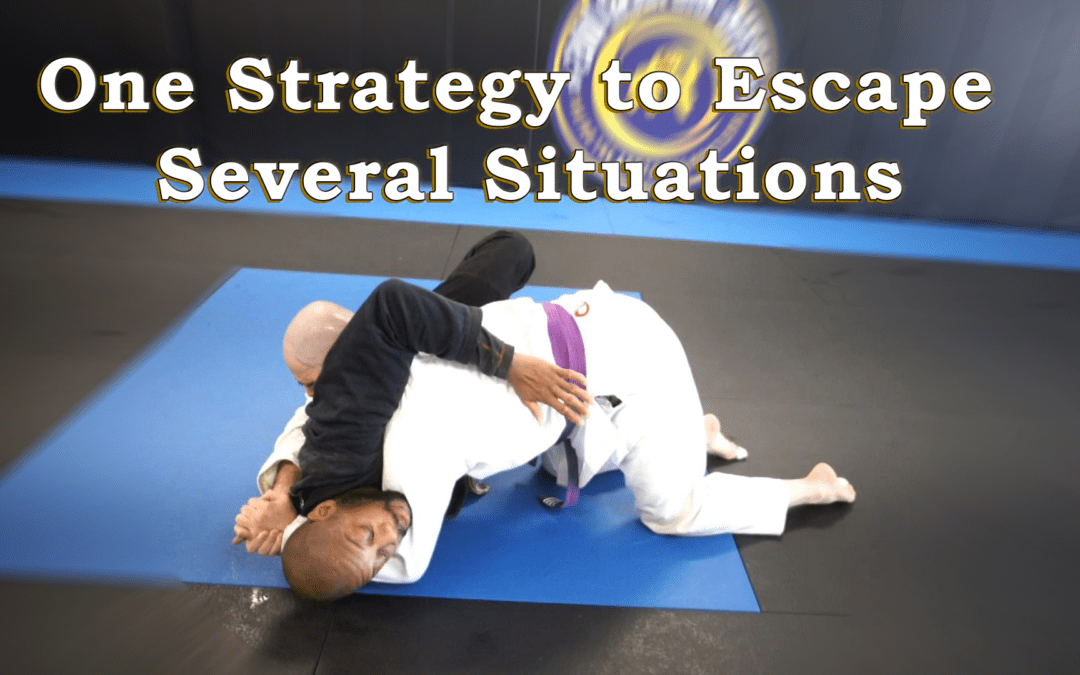
How I'm Escaping from Side Control These Days
One of the greatest problems we face when trying to escape from side control lies in creating space.
Opponents will not just let us bridge and shrimp.
No.
They’re going to do everything in their power to soak up all the space and eliminate any possibility to escape. And the tools they will use are the shoulder pressure, hip wedging, underhooks, and head and shoulder isolation among other things.
In fact, even the bridge by itself is often not enough.
I want to give you another option though.
One of the things I’ve realized is that space creation must be accompanied with base.
Why?
It’s because even if you succeed in creating space, it’s worthless if you can hold onto it against force.
That’s why many fail to escape even when they perform amazing bridges. Yup. They bridge, creating an awesome amount of space only to get flattened out almost immediately afterward.
So that’s the problem.
We have to not only create space but also do so in a way that can be maintained.
That’s where my new strategy comes into the picture.
It is a specific method for creating space and then reinforcing it to give you a platform to escape from.
And you can learn how it works in this video: